Braiding Plate Instructions
Kumihimo tutorials for making flat braids on a braiding plate
These pages are freely available instructions for making braids on the kumihimo disk and plate. These are instructions of common generic braids. A printed version of these instructions is also available on this page.
Text and pictures by None Redmond, a weaver and kumihimo braiding teacher.
See Other Braiding Styles here:
Kumihimo Products
-
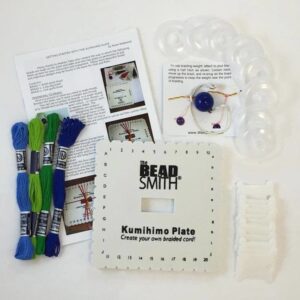 Braiding Plate Starter Set$12.95 – $17.95
 -
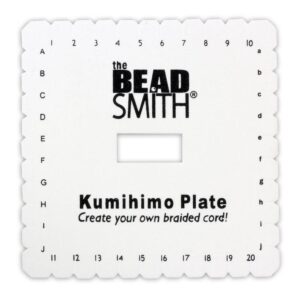 Kumihimo Braiding Plate$3.95 – $34.00
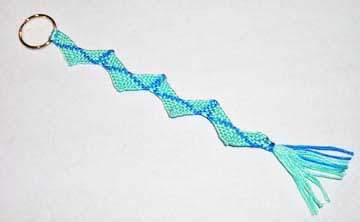
A Zig Zag Braid Key Ring
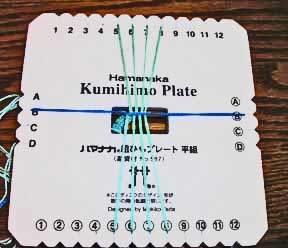
Please choose two colors that harmonize together and cut about a yard of one and 4 lengths of a yard in one color, and one length of the other color. Here our silk floss was used. The threads were folded in half in the middle, and passed through the center of a key ring, then to the slots around the plate. A braiding weight is attached to the ring, and the threads arranged on the plate as shown. (See final picture)
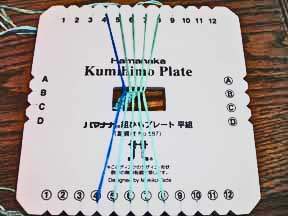
The photo below is reminiscent of the Anda Gumi braid and it will be seen that the thread at the north on the left has been moved to the slot at the west and the threads on the left at the south has been moved across to the east. This has been done before.
In fact you continue moving the threads as you did before in the Anda Gumi until after 10 moves you return to the starting place where both of the blue threads are on the left as seen below. This is where you start the zig zag.

Please move the blue thread at the west down to the south on the left of the other threads as shown in this photo below.

You then rotate the plate through 180 degrees so that it looks like this:

and begin the process all over again.
When your blue threads return to their starting position and the plate looks as it does above, you once again turn it upside down. This makes the zig zag braid which is clearly just for fun.